20200330-Blue_Diamond_Hill-eastern_loop
page 8 of 12
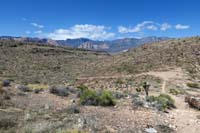
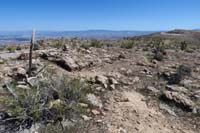
100-scenic_view_of_Ridge_trail_as_it_bends_to_the_west_becoming_Three_Amigos.jpg
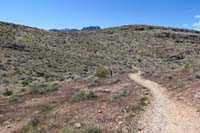
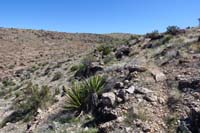
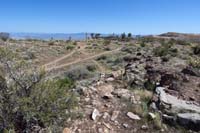
101-scenery_along_Three_Amigos_Trail.jpg
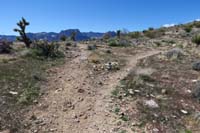
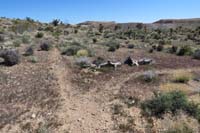
102-trail_junction-Three_Amigos_ahead_and_beyind,Bomb_Voyage_Alt_to_R.jpg
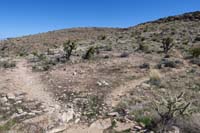
104-looking_back_to_Three_Amigos-Bomb_Voyage_TJ-came_from_Three_Amigos_ahead,heading_up_Bomb_Voyage_to_R.jpg
105-scenery_along_Bomb_Voyage_Trail.jpg
106-trail_junction-Bomb_Voyage_to_L_and_R-Little_Jimmy_Switchbacks_out_of_view_to_L.jpg
107-looking_back-came_from_Bomb_Voyage_ahead,going_up_Little_Jimmy_Switchbacks_to_R,then_return.jpg
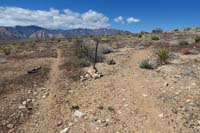
108-Little_Jimmy_Switchbacks_are_not_very_well_defined,but_sufficient,simply_look_for_worn_path.jpg
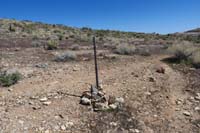
109-look_for_cairns_and_worn_path_on_Little_Jimmy_Switchbacks.jpg
110-look_for_cairns_and_worn_path_on_Little_Jimmy_Switchbacks.jpg
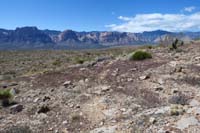
111-returning_to_Ridge_Trail_and_steam_vents_area.jpg
112-trail_junction-Little_Jimmy_to_R,Bomb_Voyage_behind_and_ahead_were I'm_going_next,return,then_Little_Jimmy.jpg
103-commentary-Three_Amigos-Bomb_Voyage_Alt_TJ.mp4
- [78 MB]